Setup Wizard
About the Setup Wizard menu
This menu simplifies the installation of your BorgBackup client. It is not exhaustive and you are free to use other methods for your backups. The menu is divided into 4 main steps detailed below.
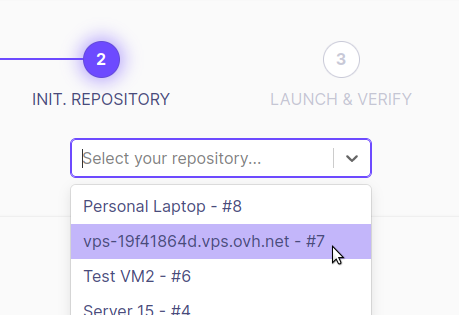
⚡ You can adapt the wizard configuration to each repository by selecting a repository from the list. The commands or configuration to copy are adapted and you just have to paste !

Step 1 : Client Setup
Command line interface (CLI)
For documentation on the BorgBackup CLI client, we recommend :
- The official documentation here
And two tutorials :
- A good post from ostechnix.com
- An excellent wiki from sebsauvage.net (french language)
Finally, for more advanced use, you can use Borgmatic : “borgmatic is simple, configuration-driven backup software for servers and workstations. Protect your files with client-side encryption. Backup your databases too. Monitor it all with integrated third-party services.”
Graphical user interface (GUI)
There seem to be several clients with a graphical interface for BorgBackup from several larger or smaller opensource projects. The best known project is Vorta and it is the one we recommend.
You can find the project page here and its documentation here.
Vorta runs on :
- Linux
- MacOS
- Windows (via Windows’ Linux Subsystem (WSL))
Step 2 : Initialize a repo
Step 2 guides you through the initialization of the repository on your client. There are no particular remarks and you will find here information on the different encryption modes available in BorgBackup.
Step 3 : Launch & verify
To launch a backup from your client, use the command generated by the setup wizard or your Vorta client.
Remember to check your backups with automated processes or manually. You will find examples of automatically generated commands allowing you to mount your backups, verify them…
Step 4 : Automation
In step 4 you will find all the resources to configure the automation of your backup clients :